|
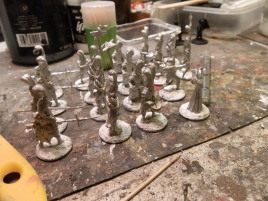
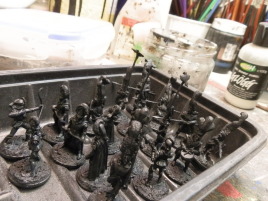
Ferach Recruitment
The final batch, cleaned and stuck on bases.
|
|
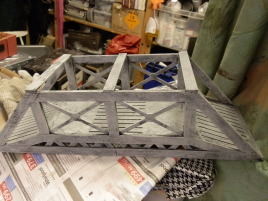
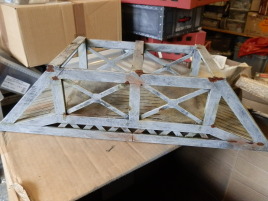
Bridge works
Base color applied, now let's liven it up with some weathering...
|
|
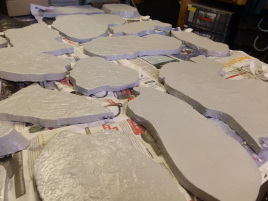
Icing Up
Base paint applied. I painted both sides to add durability and reduce warping.
|
|
Ferach Recruitment
It's an odd selection and I don't really know where they are coming from...
|

|
Ice Floats
Ok, the ice floats are done... now, what could we be using these for...
|
|
Ferach Recruitment
Finally primed.
|
|
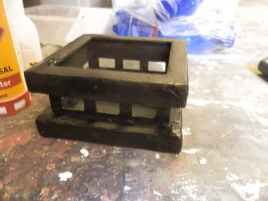
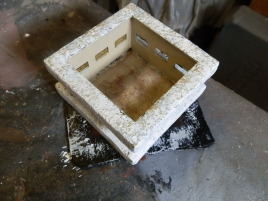
Bunker works
The bunker with spackle and primed. Next time I'll try another idea with the joints.
|
|
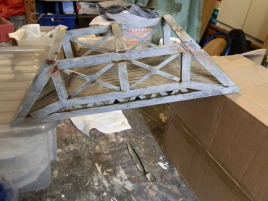
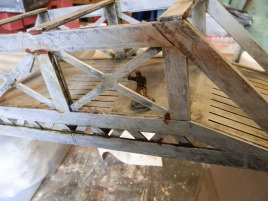
Bridging it up
Here's the finished bridge. Maybe I should have gone for a darker tone...
|
|
Bridging it up
Unlike most gaming bridges, this one can actually bridge gaps.
|
|
Bridging it up
Here's a figure for size comparison.
|
|
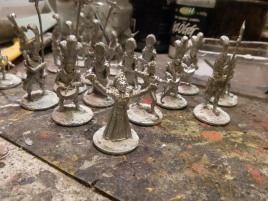
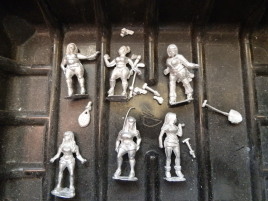
Survivors
I got these from a very small Spanish company. I'll probably remove the weapons and build them as civilians.
|
|
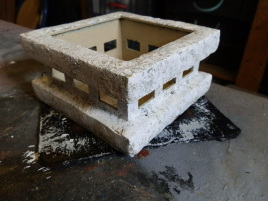
The Bunker
Here's the bunker. It still needs to roof piece, but I'll add that later.
|
|
The Bunker
I'm not totally satisfied with this, but I'll live with it...
|
|
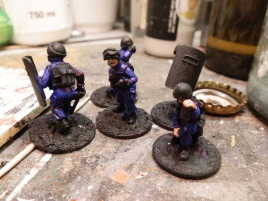
Riot Police
Ok, there's a medic in there too. I need to get more of these, loads more.
|
|
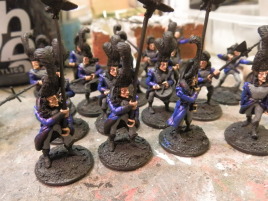
Ferach Recruitment
Getting on the base colors.
|
